Peach Ricotta Cheese Cake 桃子瑞可塔起司蛋糕
This recipe is adapted from Ricotta-Rosemary Cake with Fresh Figs by Jesse Szewczyk on food52. I’ve made the original recipe once before, and my husband remembers it fondly. So when I got extra ricotta cheese in the fridge waiting to be used, and peaches I bought because I thought I might like British peaches (spoiler: I don’t), I decided to make a simpler version of this cake with peaches.
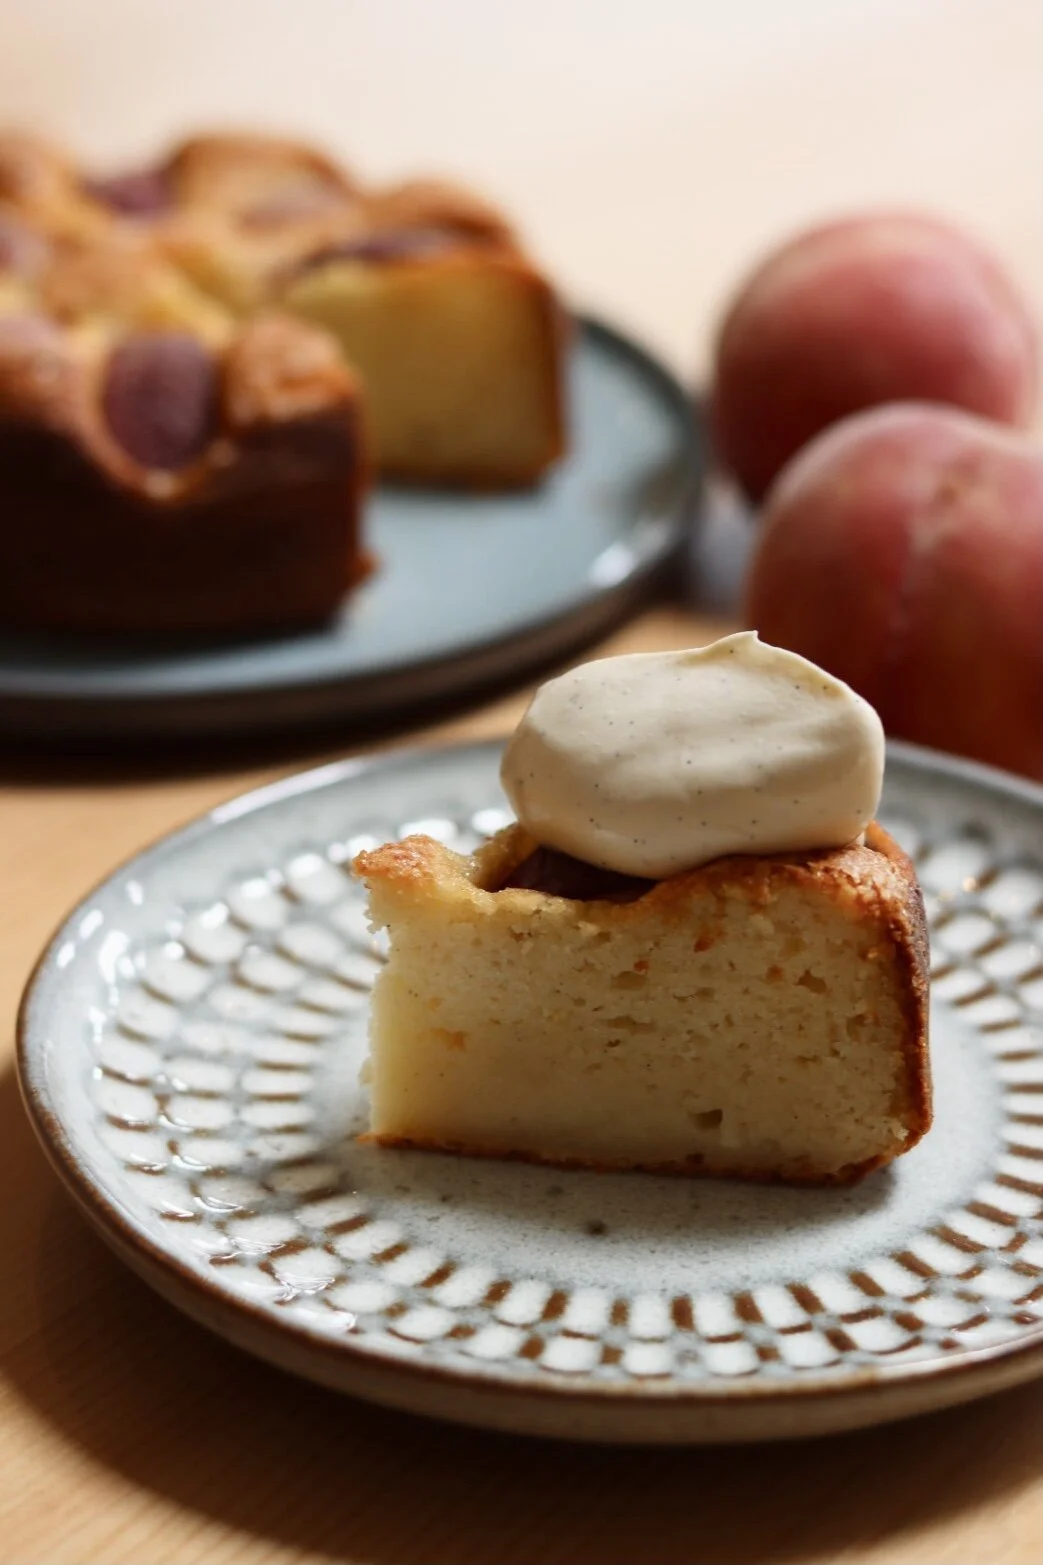
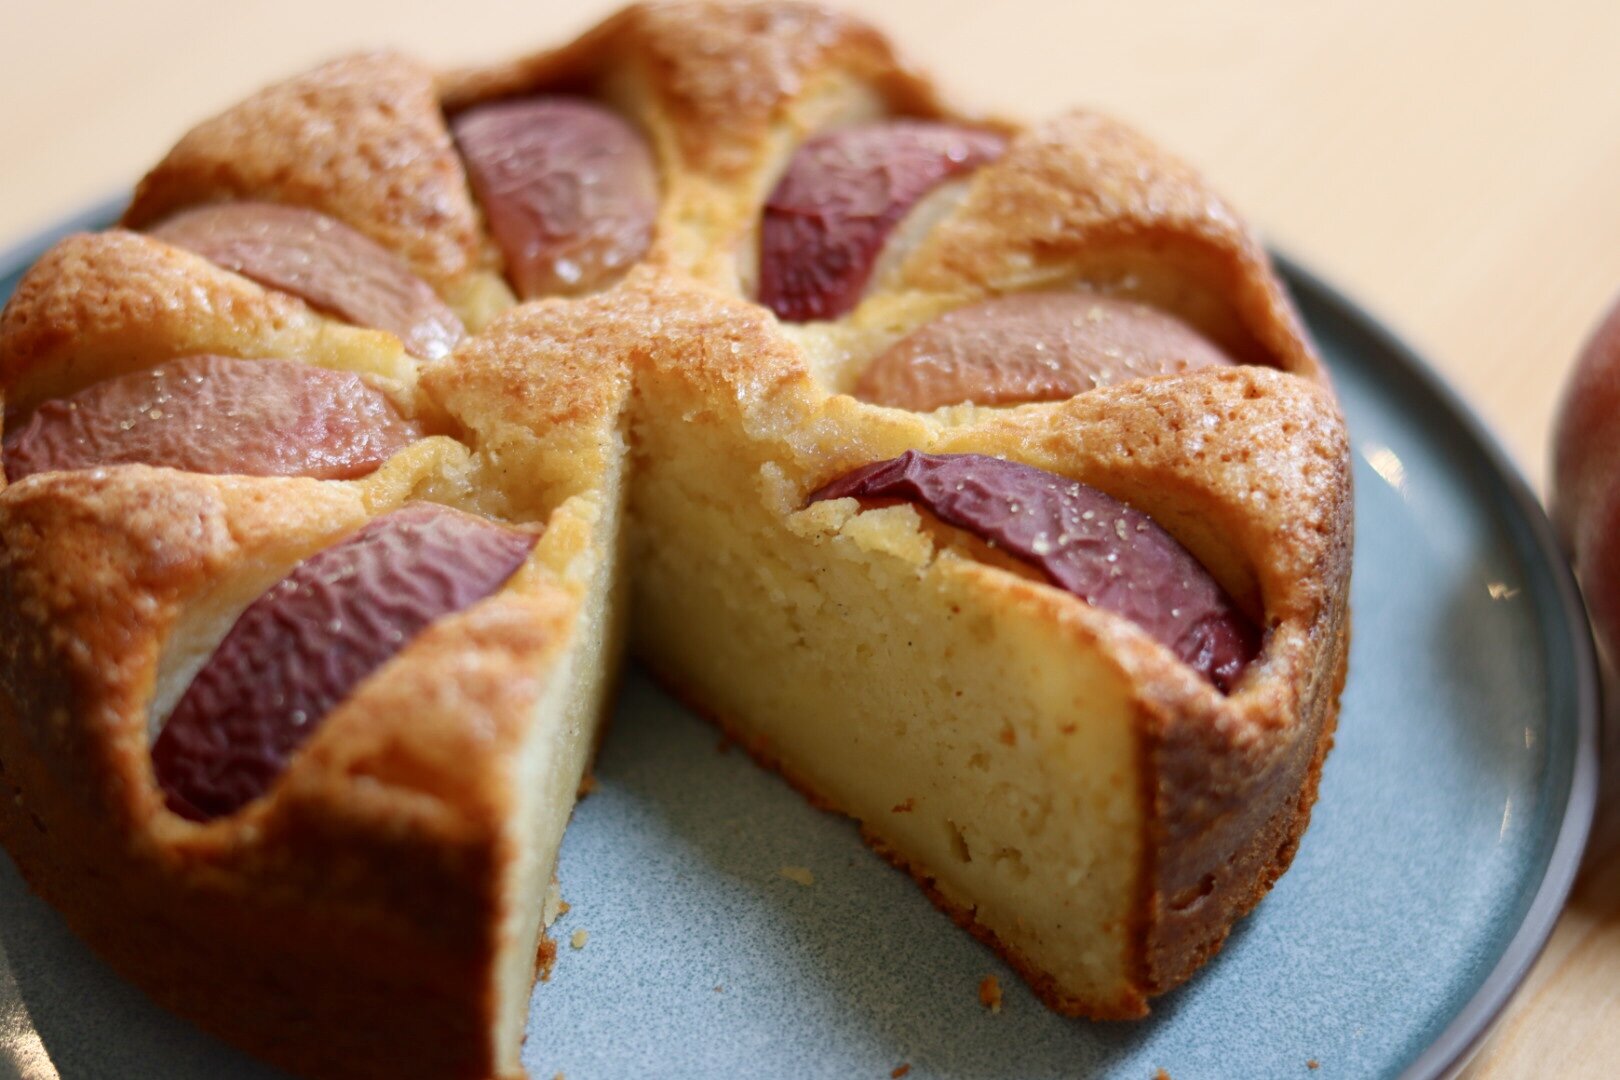
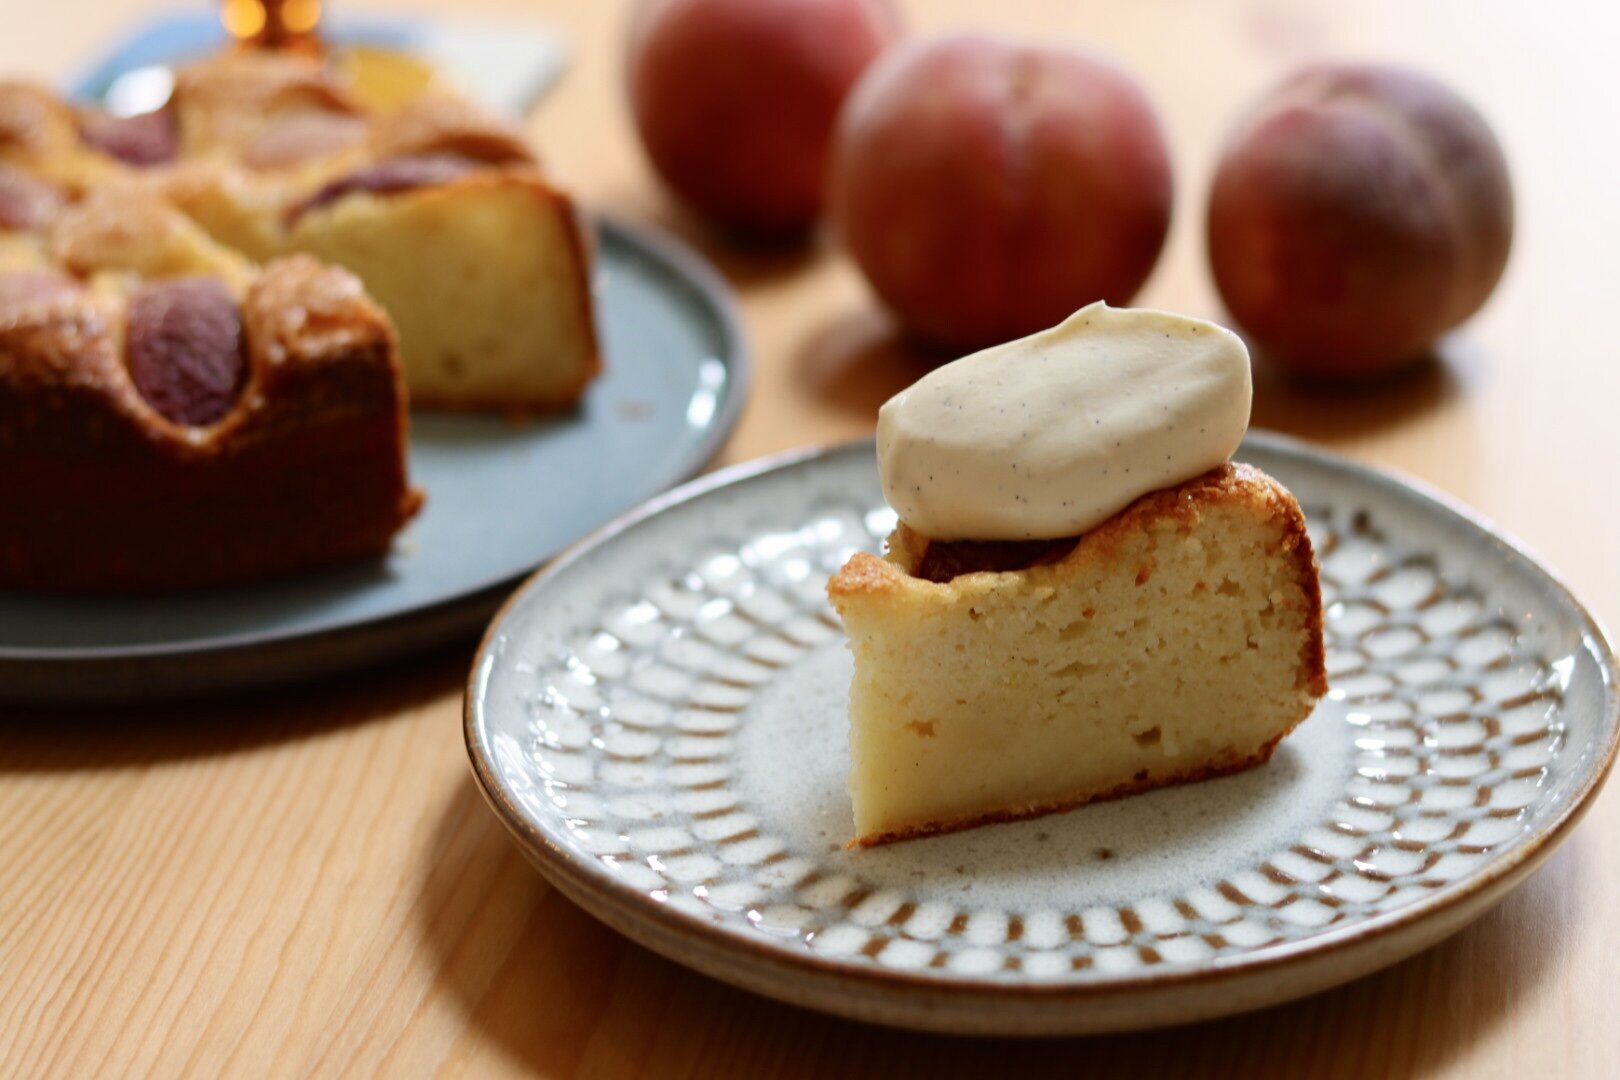
The cake is light and creamy in texture, and the lemon zest brings out a refreshing note. It will also have a crunchy top if you preheat the oven to a higher temperature at the start.
I used a very small cake tin - 15 cm/6-inch in diameter. The original recipe uses a standard 9-inch cake tin, so I only used half of the recipe for mine. If you are using a 9-inch cake tin you can double my ingredients, and the baking time shouldn’t be too different.
And here is the recipe…
Ingredients
for cake (6-inch)
55 g unsalted butter, melted and cool (microwave on medium for 30 secs)
90 g cake flour (for the lightest texture) or plain flour
90 g caster sugar
2 tsp baking powder
1 tsp salt
2 medium eggs
200 g ricotta cheese
1 tsp vanilla bean paste
1 tsp lemon zest
1 peach
1 tbsp Demerara sugar
for whipped cream (to serve)
1 tsp vanilla paste
1 cup double cream
Methods
Preheat the oven to 200°C. Grease cake tin with butter, line the bottom with baking paper, then flour the side lightly.
Sift flour, sugar, baking powder and salt into a bowl.
Whisk together egg, ricotta, vanilla paste and lemon zest, then add to the flour mixture, stir until smooth.
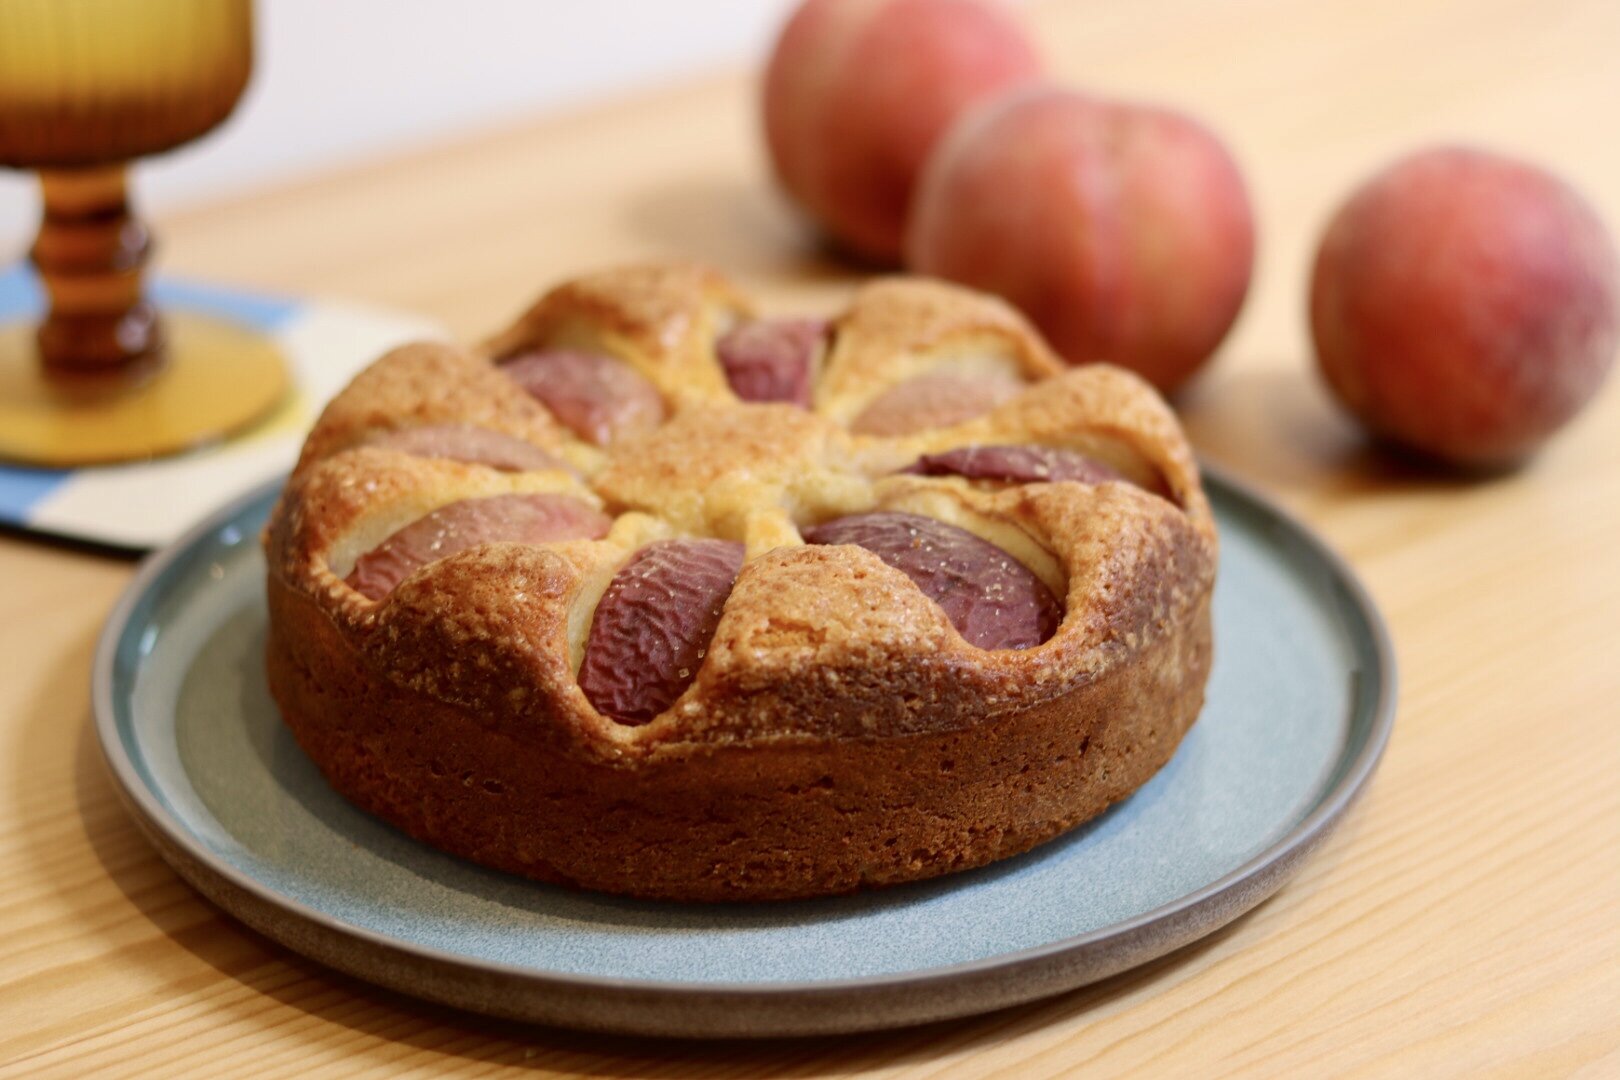
Pour cake batter into cake tin, then arrange peach slices on top, push the sliced slightly into the batter. Sprinkle Demerara sugar on top.
Put cake tin in the oven and immediately turn the temperature down to 175°C. Bake for around 45 mins, until a prick test come out clean.
Add vanilla paste to cream then whip. I like to hand whip the cream because I prefer lightly whipped cream and you can easily over whip the cream with an electric whisk.
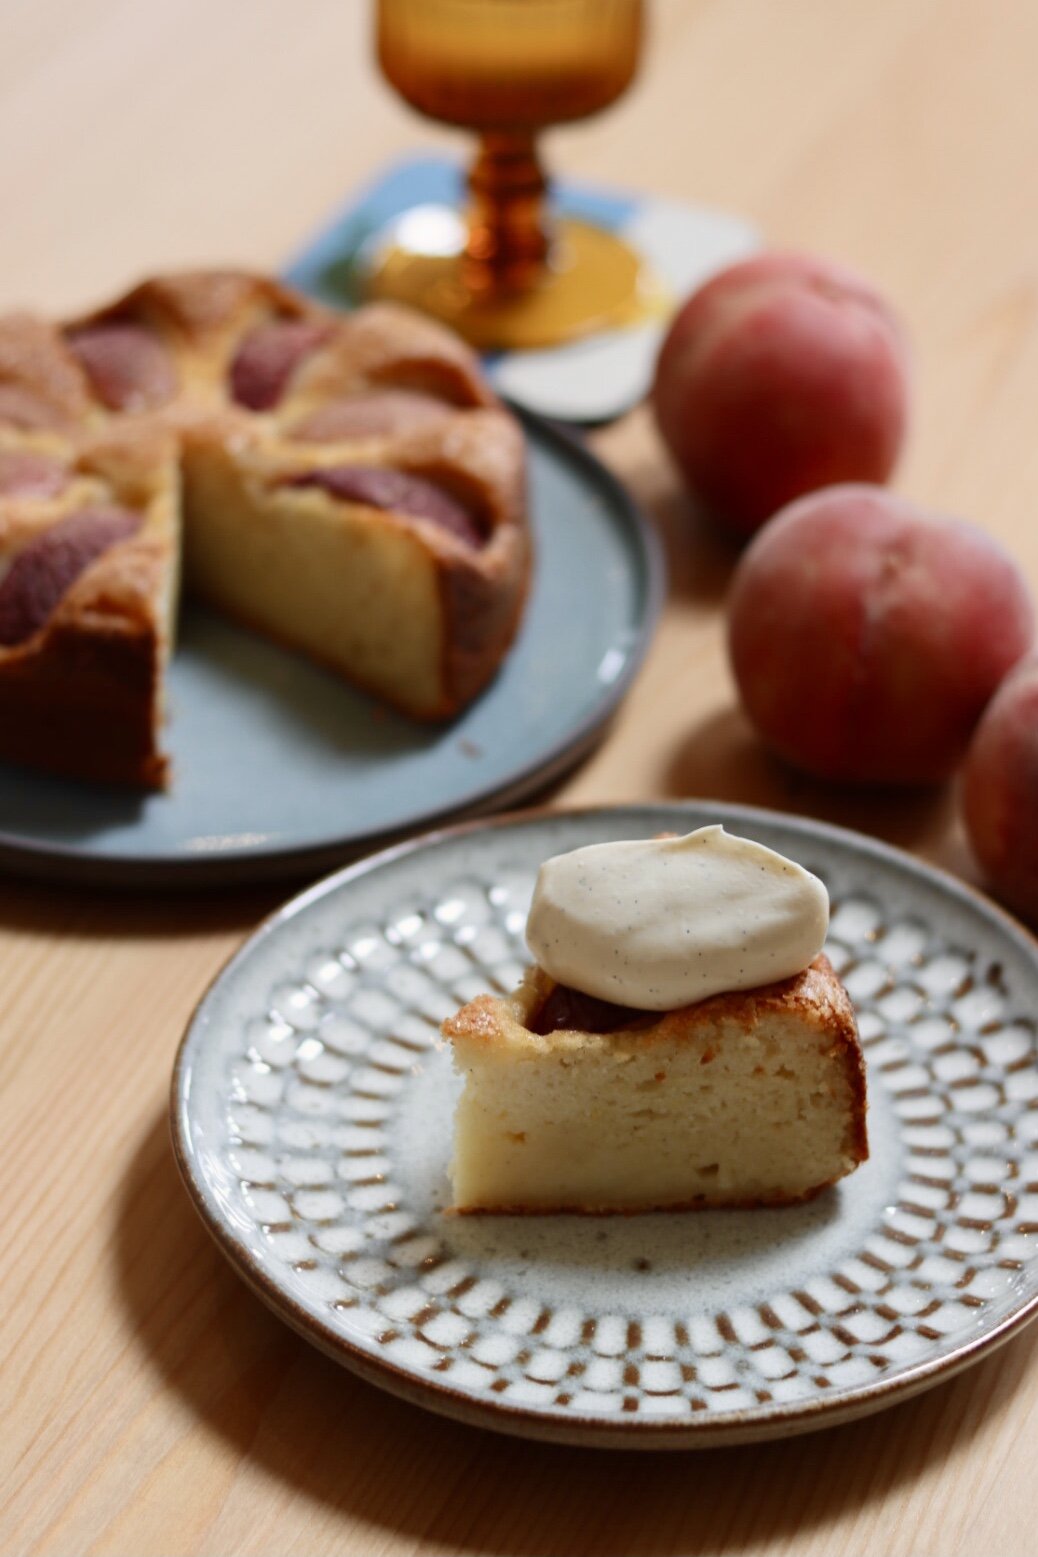
Let cake cool completely. Serve with lightly whipped cream.
這個桃子瑞可塔起司蛋糕是這個迷迭香無花果瑞可塔起司蛋糕的簡易改版。我做過原版的蛋糕,老公很捧場,所以為了清冰箱裡剩下的瑞可塔起司和無聊的英國桃子(好懷念台灣的水蜜桃啊),我決定做一個桃子的版本。
蛋糕體加了瑞可塔起司口感綿密,但是比起一般的起司蛋糕更輕盈,檸檬皮屑所添加的檸檬香氣造就了清爽的風味。
我所用的蛋糕模很小,直徑只有15公分(6英吋)。原食譜所使用的是一般的9英吋蛋糕模,所以我的配方將原食譜減半。如果你的蛋糕模是9英吋,可以直接將我的配方乘以兩倍,烘烤的時間不會差太多。
食譜
配方
蛋糕
55 公克 無鹽奶油,融化並稍微放涼(微波爐中火微波30秒)
90 公克 低筋麵粉
90 公克 細砂糖
1 茶匙 泡打粉
1 茶匙 鹽
2 顆 蛋(中型)
200 公克 瑞可塔起司
1 茶匙 香草漿(台灣常見的香草精也可以,但香草漿味道更好)
1 茶匙 檸檬皮屑
1 顆 桃子(切片)
1 茶匙 粗顆粒砂糖
鮮奶油
1 茶匙 香草漿
1 杯 鮮奶油
做法
烤箱預熱至攝氏200度。蛋糕模內部抹上薄薄一層奶油,底部放上烘焙紙,側邊輕輕撒上薄薄一層麵粉。
過篩麵粉、糖、泡打粉和鹽至一個大碗中。
混合蛋、瑞可塔起司、香草漿、檸檬皮屑和奶油,加入麵粉碗中攪拌均勻。
將蛋糕麵糊倒入蛋糕模中,擺上切片的桃子,將桃子稍微輕壓進蛋糕麵糊中。蛋糕表面撒上粗顆粒砂糖。
將蛋糕模放入烤箱,並且馬上將溫度設定降至攝氏175度。烘烤約45分鐘,直到戳了不會有麵糊沾黏為止。
香草漿加入鮮奶油中,打發至喜歡的口感。我習慣用手打發鮮奶油,因為我比較喜歡微微打發的口感,用電動攪拌器打發很容易不小心打發過度。
蛋糕完全放涼後搭配微打發的鮮奶油食用。